Module 3: Introduction to 3D Modelling with Tinkercad
1. Interface Overview
The Tinkercad interface is designed for intuitive modelling. The primary area is the Workplane, which represents the physical surface of the 3D printer.
Log In: As a first step, create the Tinkercad account to log in.
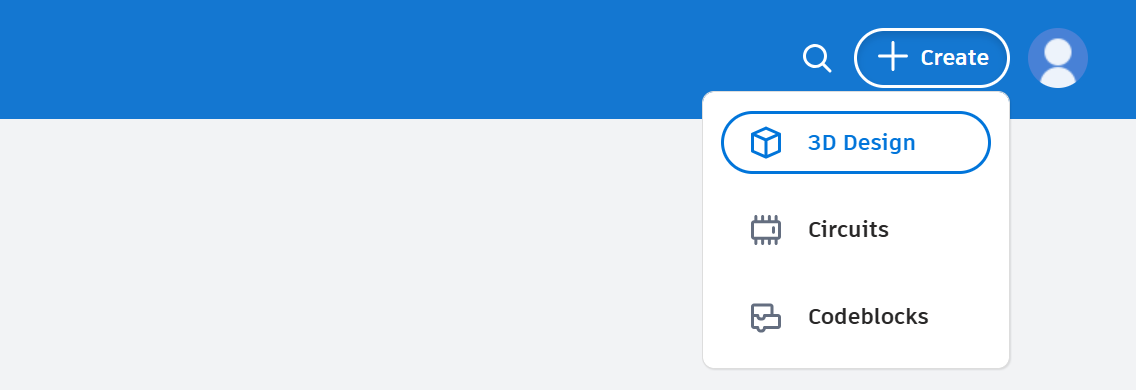
Create First 3D Design: Then, create the 3D design by clicking; + Create --> 3D Design which is on top right corner.
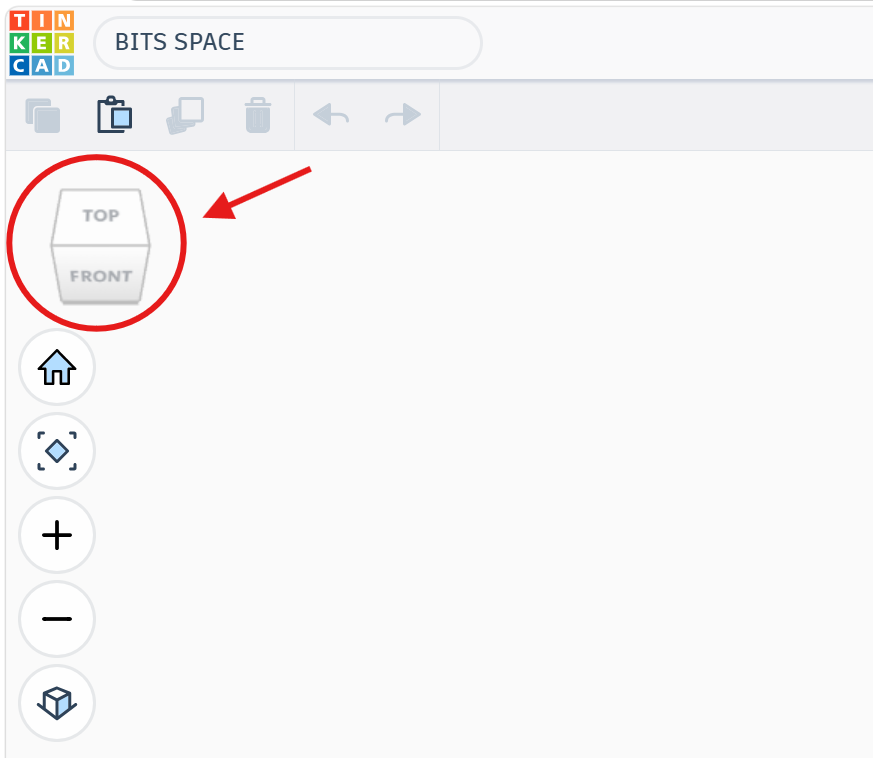
Navigation: The view is controlled using the ViewCube located on top left or by right clicking and dragging to rotate the perspective.
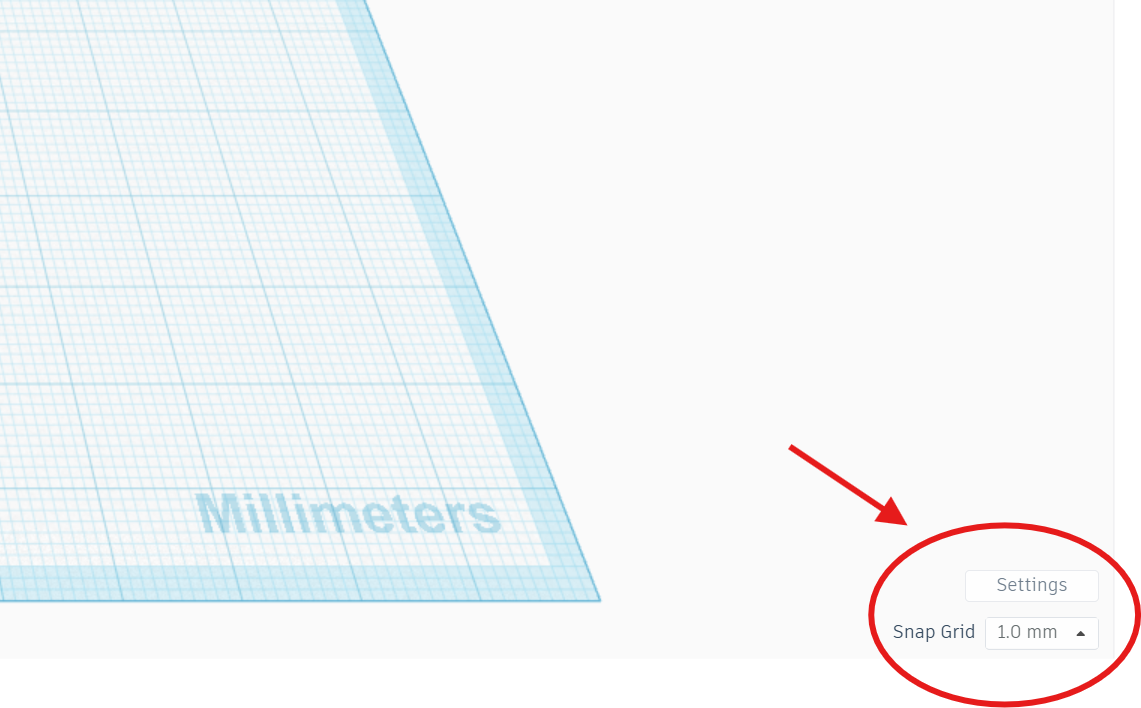
Grid Setting: It is essential that the grid is set to Millimeters (mm). This ensures that the digital model corresponds accurately to the real-world dimensions. It can be adjusted on bottom right corner.
General Navigation Controls. ⬇️
|
Navigation Controls |
|
|
Rotate camera |
Right-click + drag, orbit around your model |
|
Pan (move) camera |
Middle mouse button + drag, shift the view sideways or up/down |
|
Zoom |
Scroll wheel, zoom in and out |
|
Quick preset views |
Click the cube icon (top-left corner) - snap to Front, Top, Side views |
|
Home / Reset view |
Click the house icon to return to the default perspective |
|
Bottom buttons |
Switch between Perspective and Orthographic view |