Module 3: Introduction to 3D Modelling with Tinkercad
3. Boolean Operations: Solids and Holes
The core of Tinkercad modelling involves two types of objects: Solids and Holes.
Solids: These represent the physical material that will be printed.
When an object on the workplane is selected, its properties and options appear in the upper right corner.
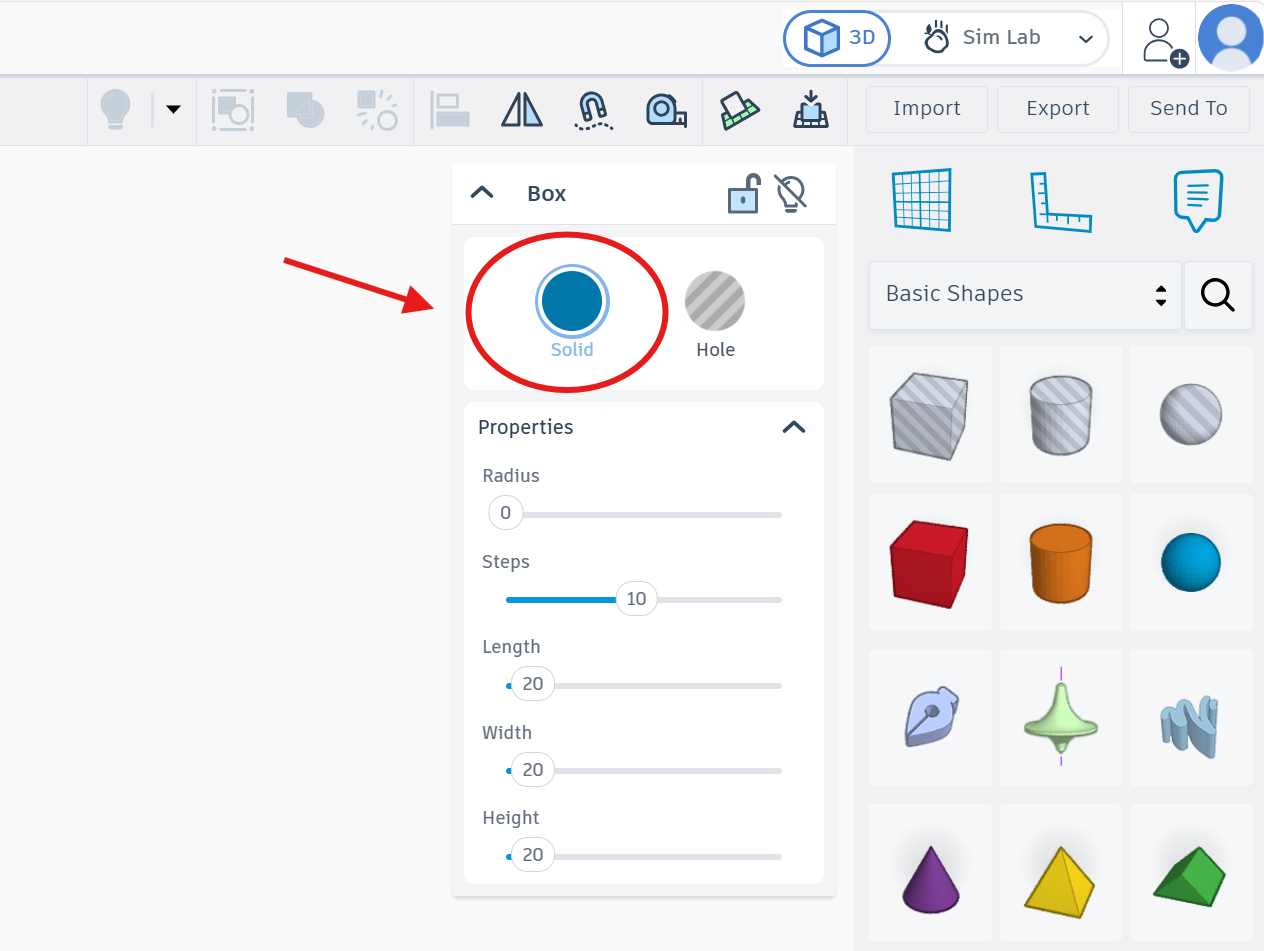
Holes: These are used to remove material from a solid. For example, a cylinder designated as a “Hole” can be used to create a screw opening within a solid bracket.
To use the hole feature, click "Hole" next to "Solid" feature.
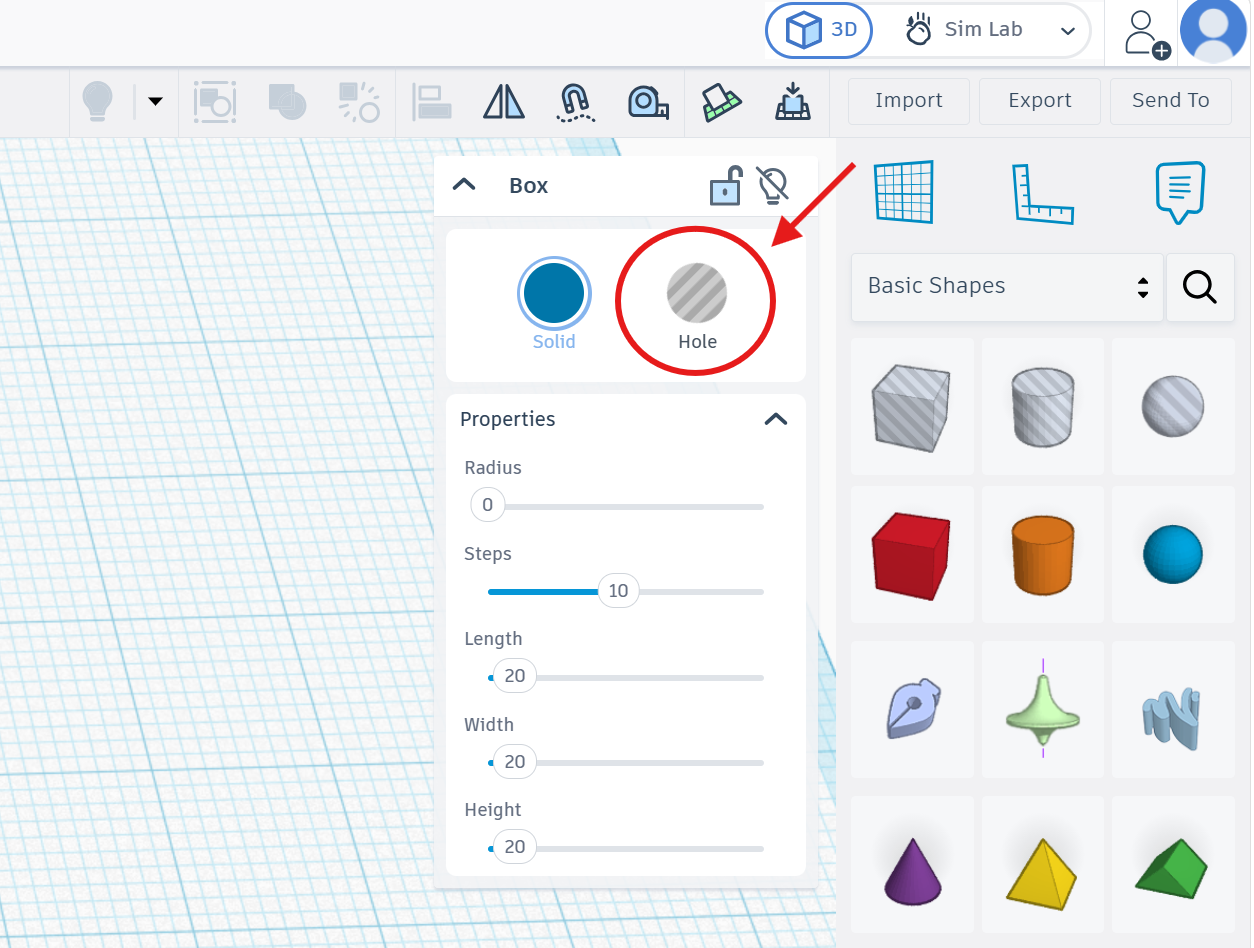
It will look as shown below:
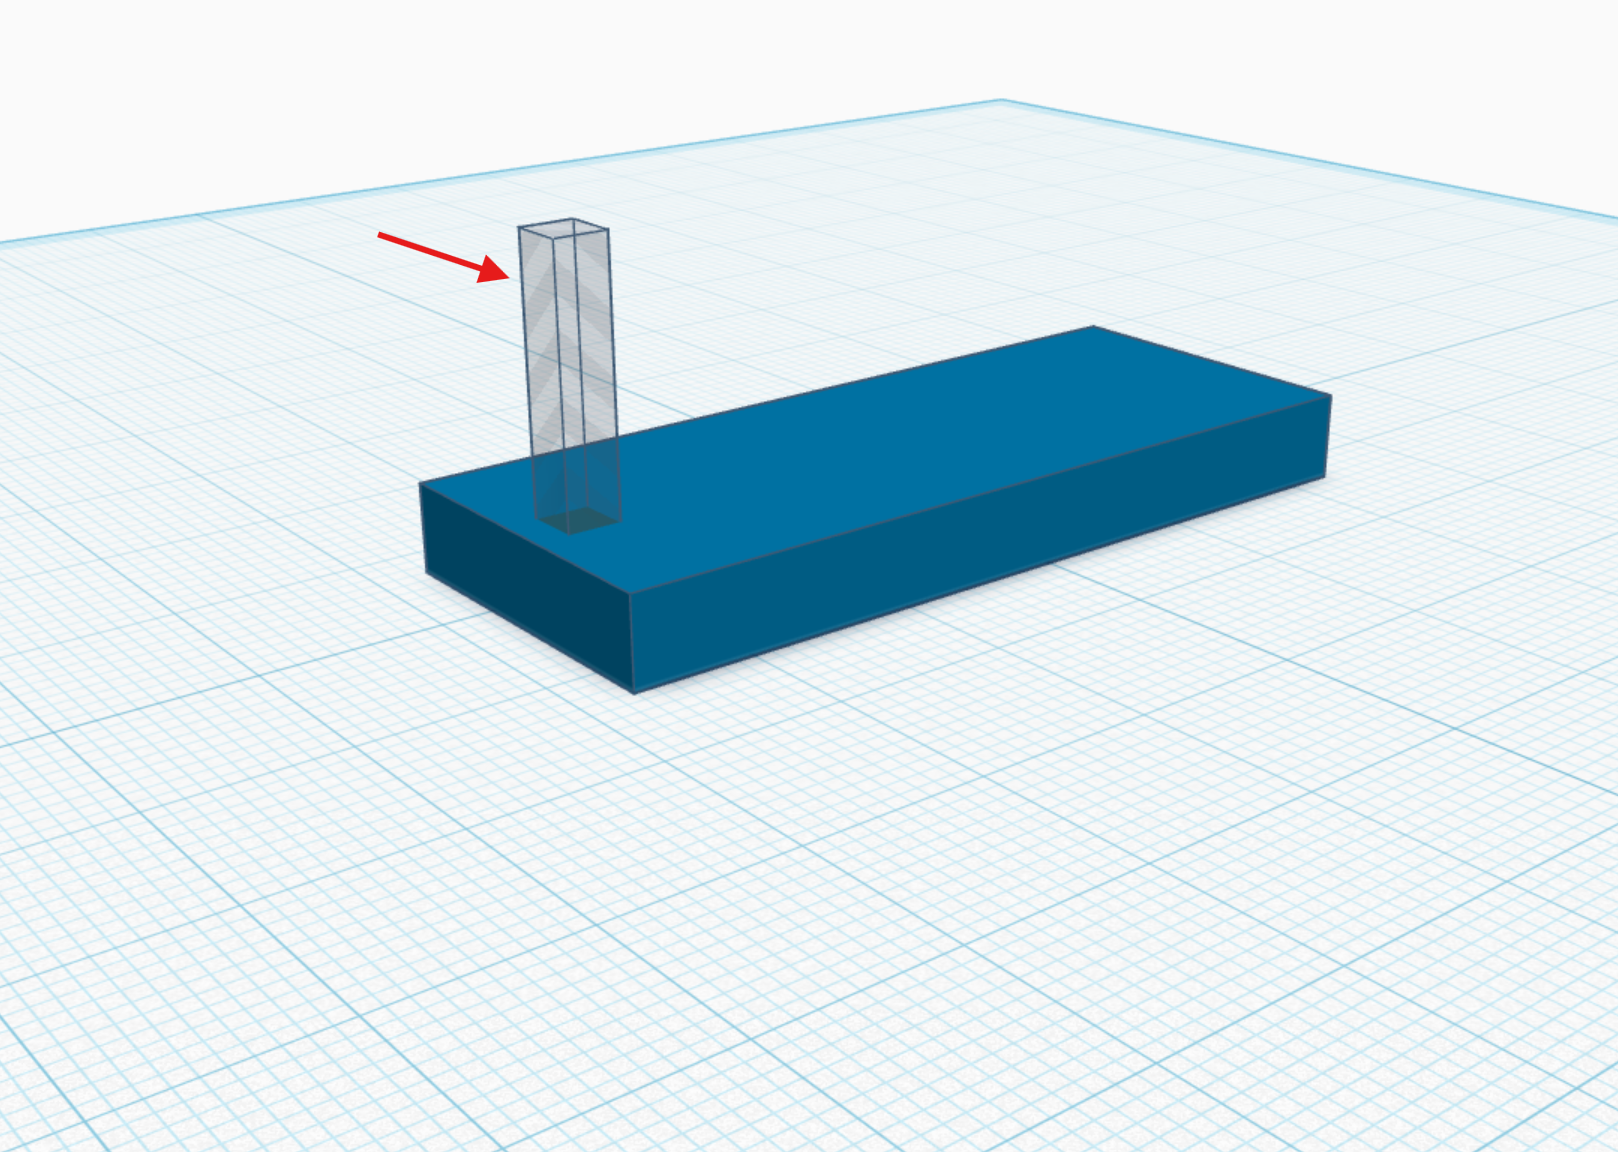
Grouping: To execute a subtraction or a merger, multiple objects are selected and Group function (Ctrl + G) is applied. This fuses the shapes into a single printable entity.
To group these two objects, select both objects and click group icon in top right.
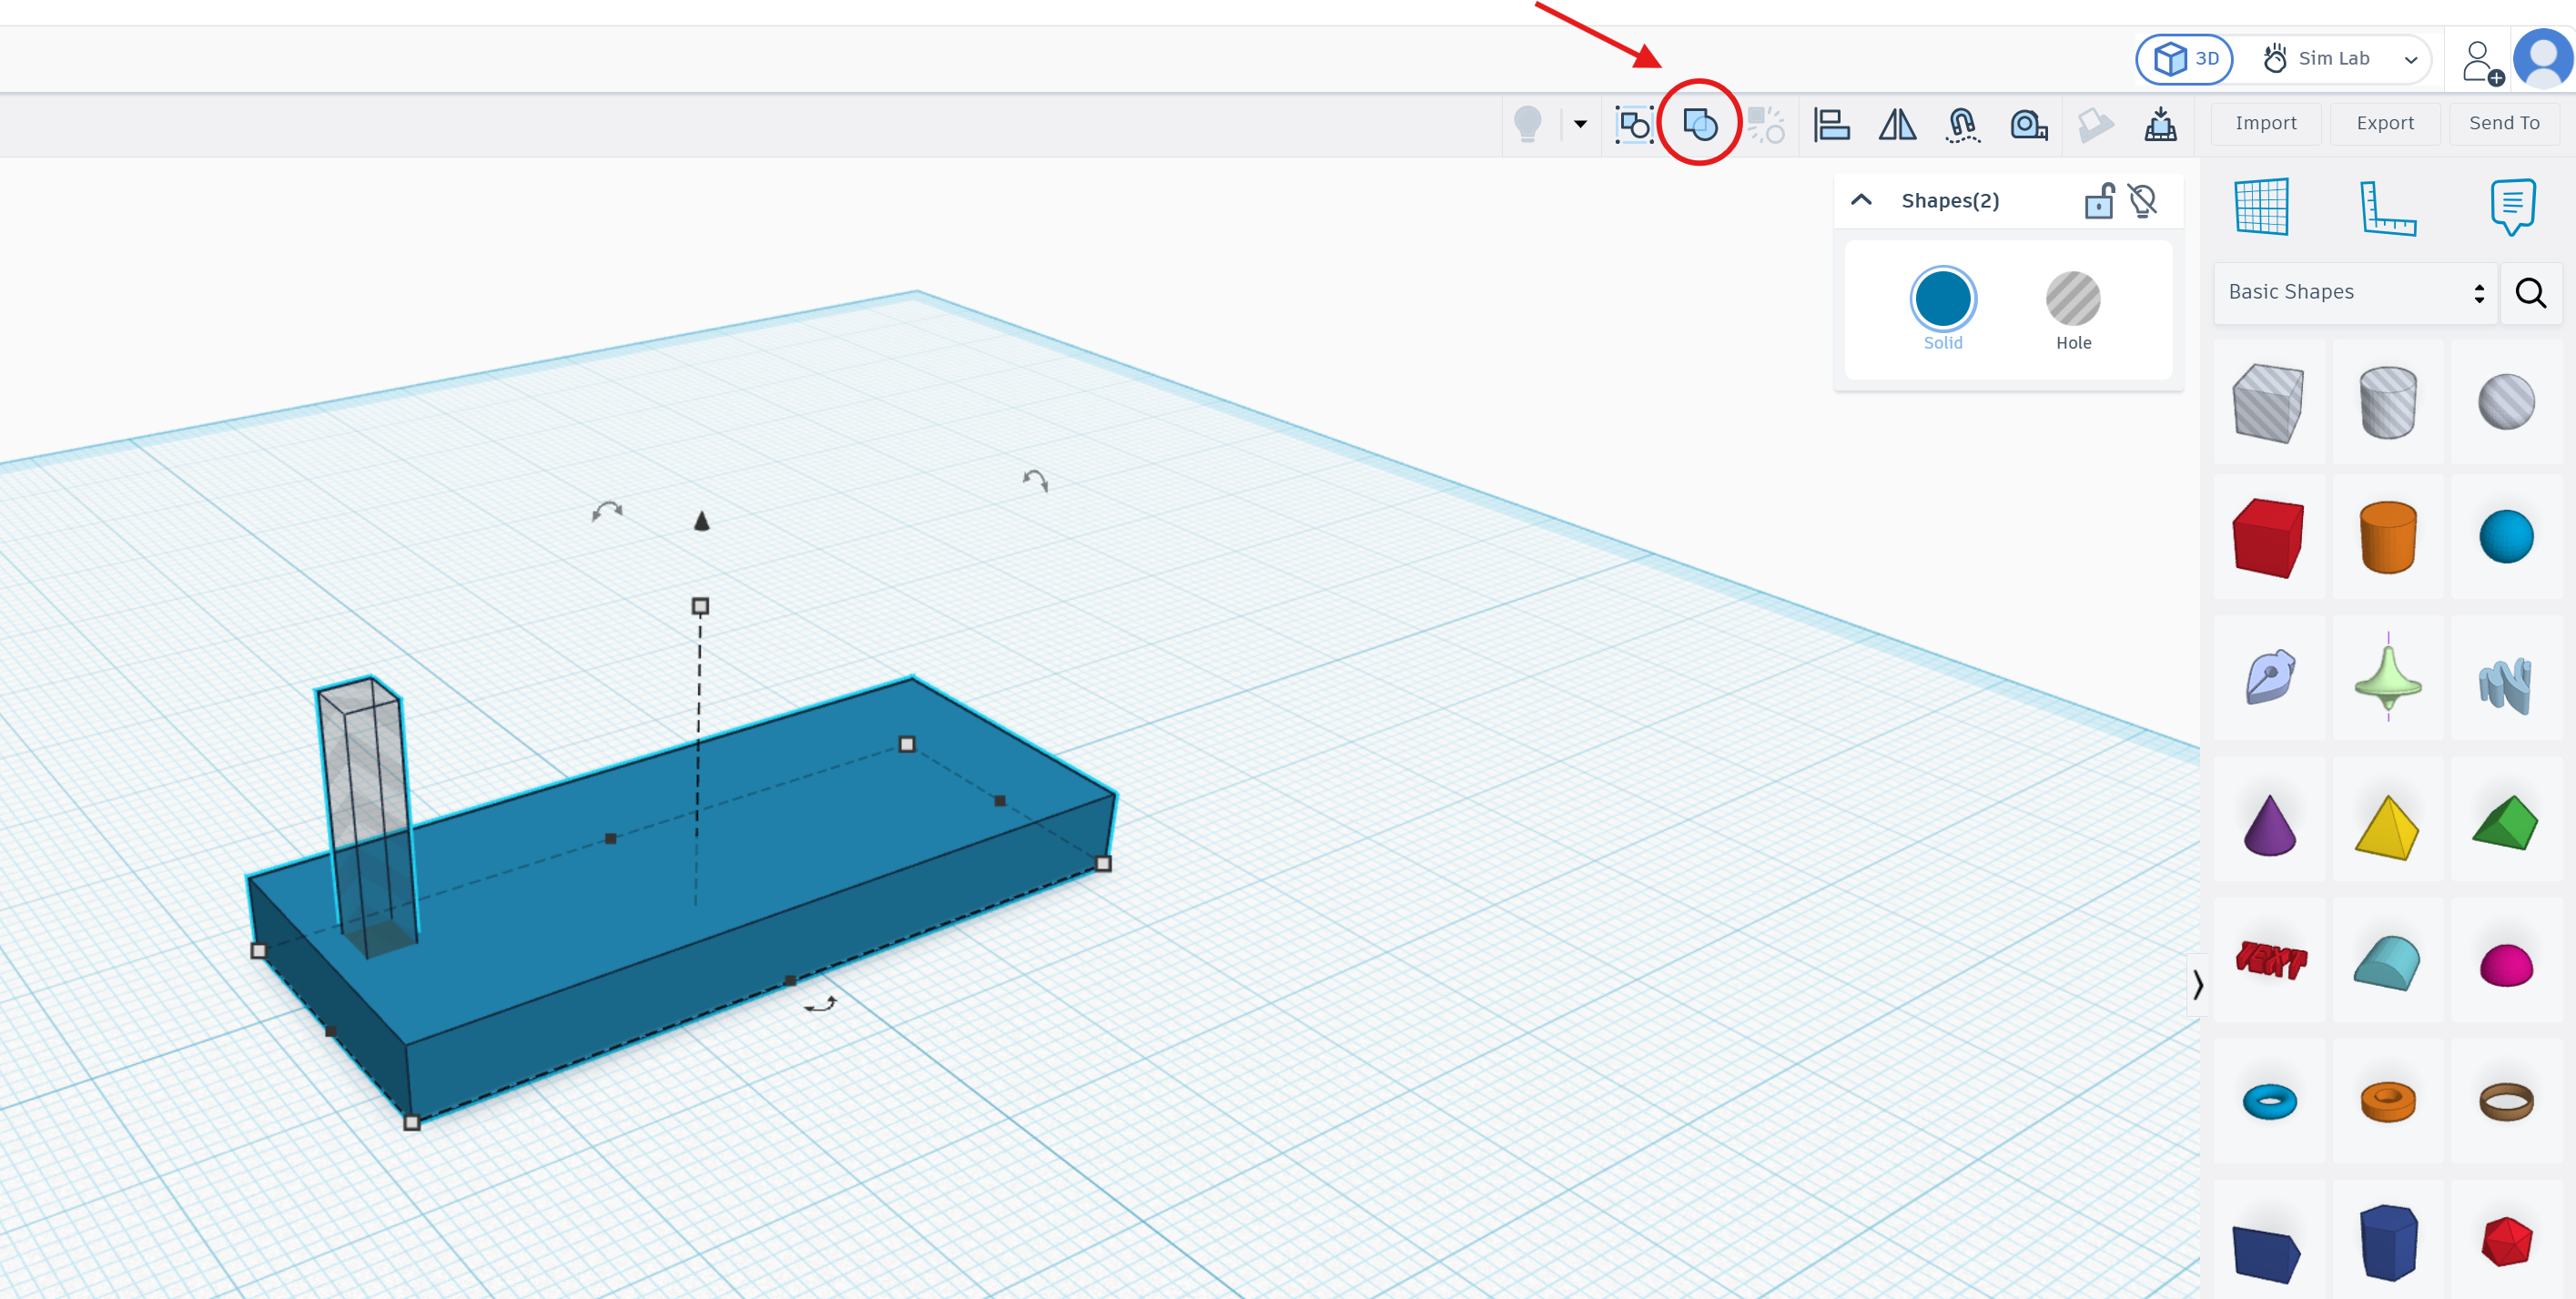
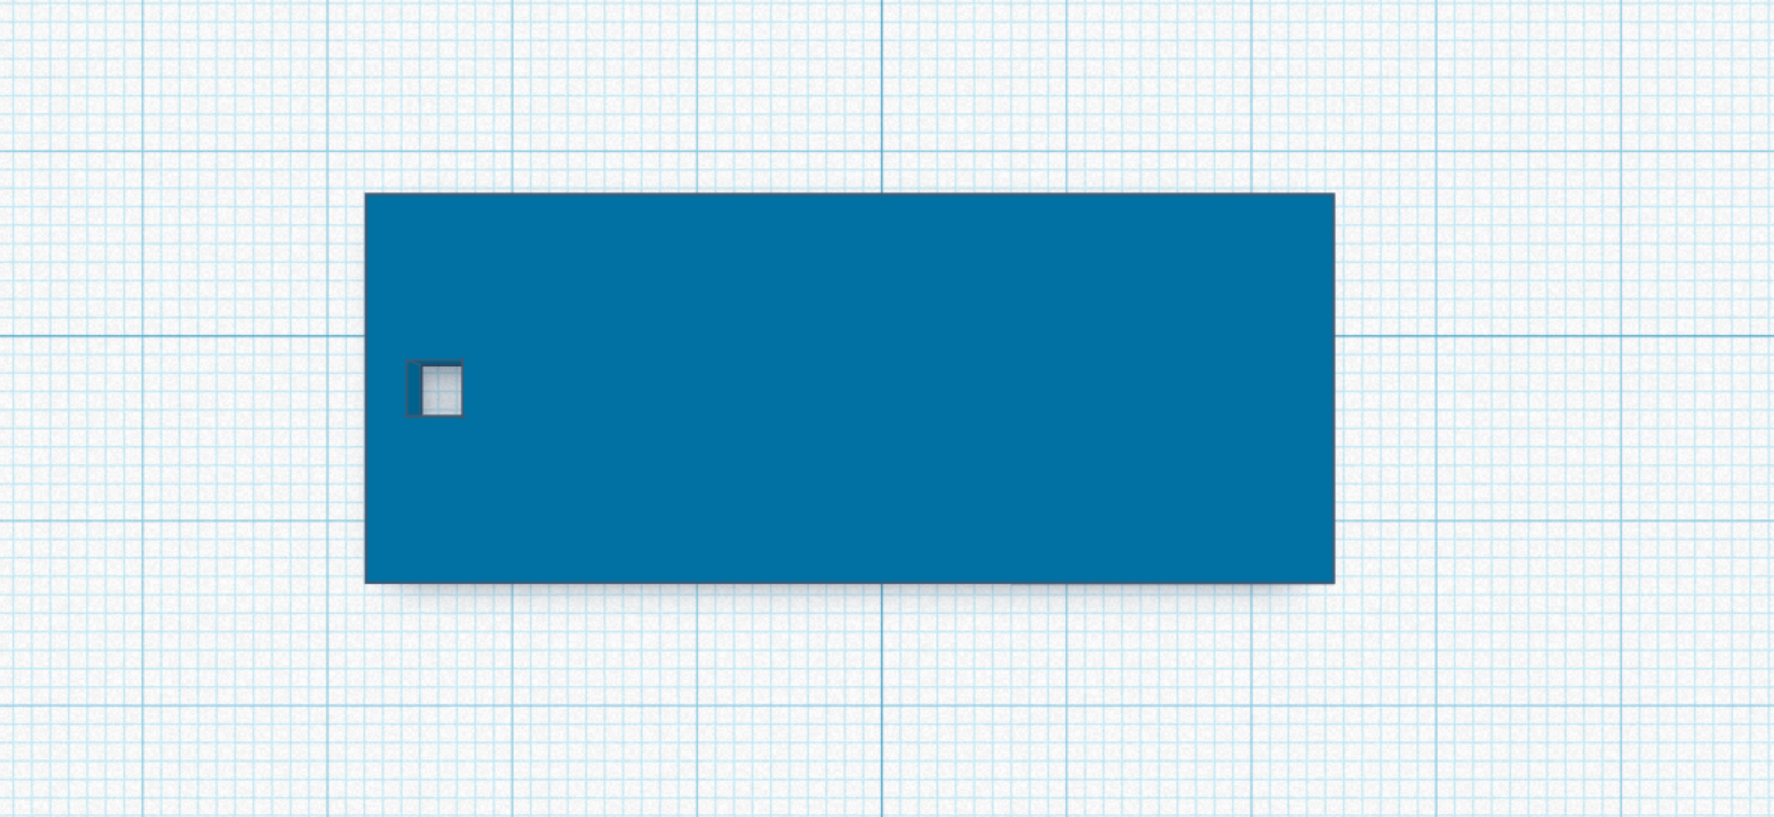
After grouping, there will be a hole in the design.
List of features for grouping and subtracting. ⬇️
|
Grouping and Subtracting |
|
|
Select multiple shapes |
Click the first shape, then hold Shift and click additional shapes -- or drag a selection box around all of them |
|
Group |
Press Ctrl + G (Windows) or Cmd + G (Mac), or click the Group button in the toolbar. The shapes merge into one solid. |
|
Ungroup |
Select the group, then press Ctrl + Shift + G -- or click the Ungroup button. Shapes become individual again. |
|
Make a Hole |
Select a shape, then in the inspector (top right) switch it from Solid to Hole. The shape turns grey/transparent. |
|
Cut / subtract |
Place the Hole shape overlapping your solid shape. Select both. Press Ctrl + G. The Hole removes material from the solid. |